Managing the references is made possible thorough the following steps:
1. Create New Reference:
1. Click on Create New button:

2. The following page will be displayed:
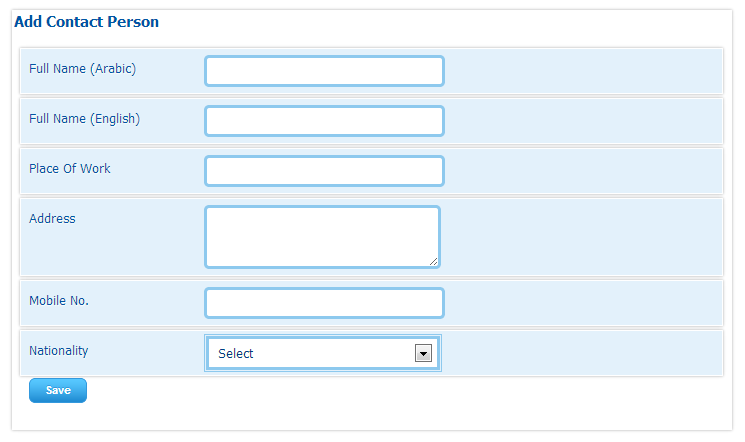
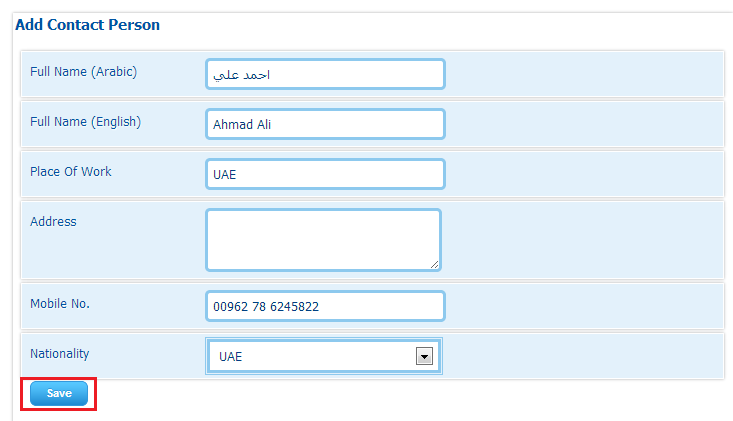
3. Fill in the fields displayed taking the following validations into consideration:
Field
|
Field Type
|
Validations
|
Full Name (Arabic)
|
Mandatory
|
This field is mandatory and the user has to fill it to complete the process; otherwise this message will appear (This field is required).
The entered text must be in Arabic, otherwise this message will appear (Please enter name in Arabic).
The entry of the letters (أ , ي or ة) will be automatically replaced with (ا , ى or ه) respectively
|
Full Name (English)
|
Mandatory
|
This field is mandatory and the user has to fill it to complete the process; otherwise this message will appear (This field is required).
The entered text must be in English, otherwise this message will appear (Please enter name in English).
|
Place of Work
|
Mandatory
|
This field is mandatory and the user has to fill it to complete the process; otherwise this message will appear (This field is required).
|
Address
|
Optional
|
|
Mobile No.
|
Mandatory
|
This field is mandatory and the user has to fill it to complete the process; otherwise this message will appear (This field is required).
The input of this field, if entered, must be numerical values; otherwise this message will appear (Invalid Numbers).
The entered phone number should follow the format: (code – number), as in the example (00972-501234567)
|
Nationality
|
Mandatory
|
This field is mandatory and the user has to fill it to complete the process; otherwise this message will appear (This field is required).
|
4. Click on Save button:
5. The new reference will be added to the References section:
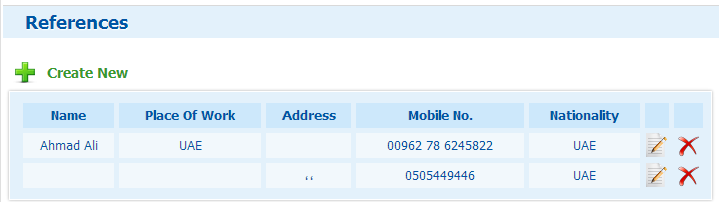
2. Update Reference:
| • | Updating any reference is made possible by clicking on the edit icon next to the intended record ( ), and then modifying the fields taking the same validations mentioned above into consideration. ), and then modifying the fields taking the same validations mentioned above into consideration. |
3. Delete Reference:
| • | Deleting any reference is made possible by clicking on the delete icon next to the intended record ( ), and then confirming the process from the popup that appears. ), and then confirming the process from the popup that appears. |
|
