Creating a new user group is made possible through the following steps:
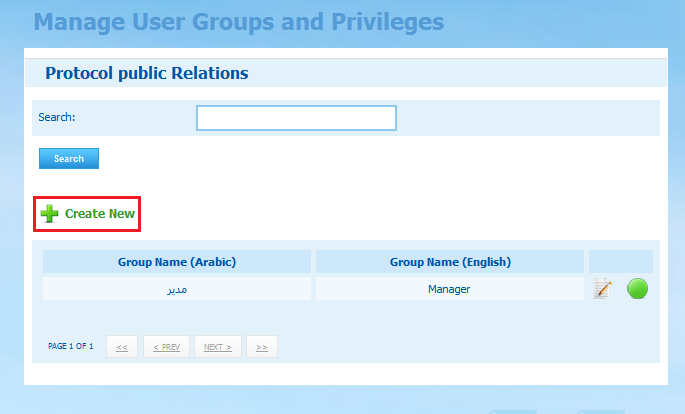
| 1. | Click on Create New button: |
| 2. | This will open the following page: |
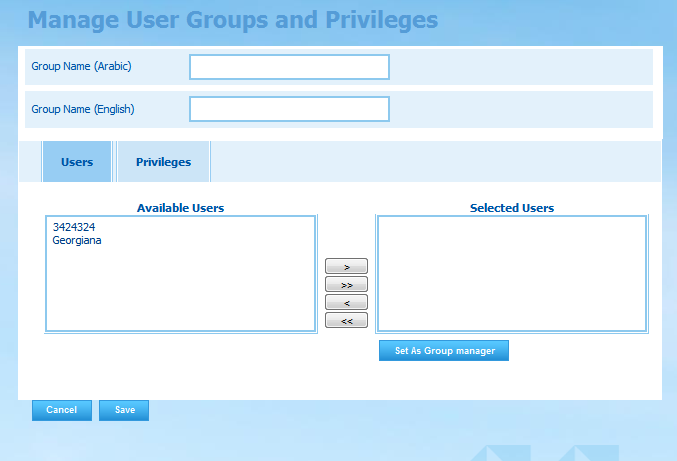
| 3. | Note that the group details is divided into three main categories: |
| • | Group Basic Information: entering the group basic details is made possible by filling the following fields: |
Field |
Field Type |
Validations |
|---|---|---|
Group Name (Arabic) |
Mandatory |
This field is mandatory and the user has to fill it to complete the registration; otherwise this message will appear (This field is required).
The entry of the letters (أ , ي or ة) will be automatically replaced with (ا , ى or ه) respectively |
Group Name (English) |
Mandatory |
This field is mandatory and the user has to fill it to complete the registration; otherwise this message will appear (This field is required). |
| • | Users: adding users to the user group is made possible through the following steps: |
| 1. | From the Available Users list, click on the intended user and then click on the ( |
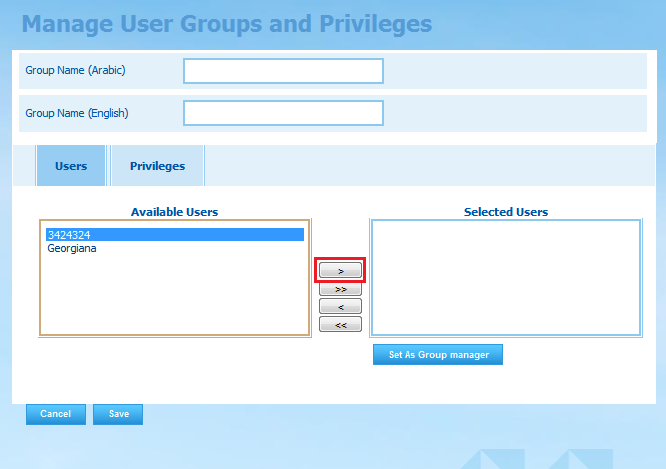
| 2. | The selected user(s) will be moved to the Selected Users list. This indicates that these users currently belong to this group: |
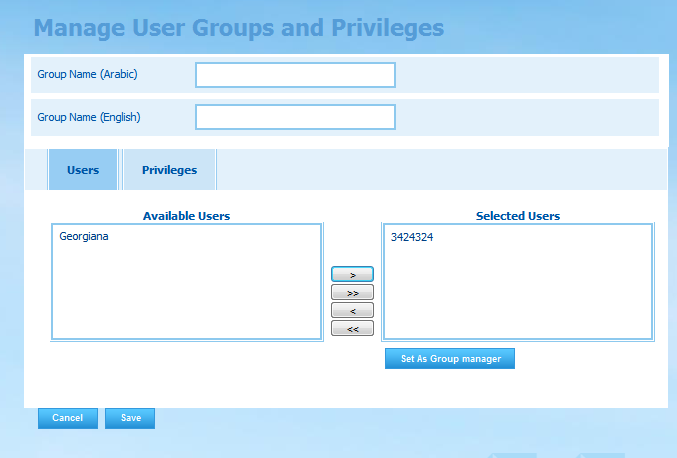
| 3. | Similarly, to remove a user from the group, select the intended user(s) and then click on the ( |
| • | Privileges: assigning user group its privileges and permissions is made possible through the following steps: |
1. Click on the Privileges tab:
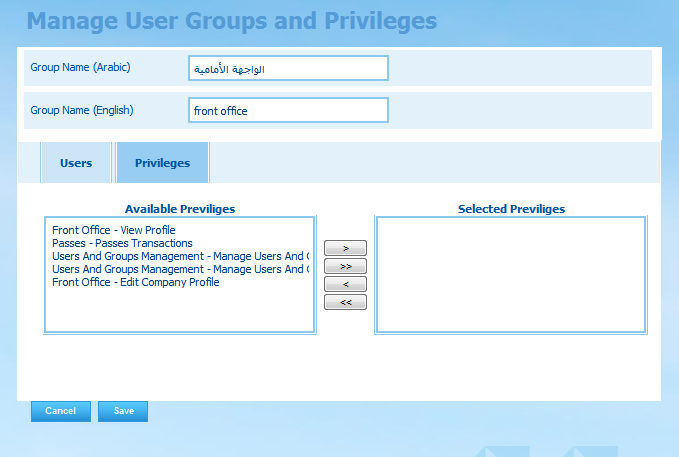
2. The Available Privileges list includes all modules of the system along with the functionalities that can be done over them. Select the intended privilege from the Available Privileges list. Note that you can select multiple privileges by holding the CTRL key from the key board and clicking on the intended privileges and then clicking on (![]() ) button. Note that you can move all privileges by clicking on (
) button. Note that you can move all privileges by clicking on (![]() ) button:
) button:
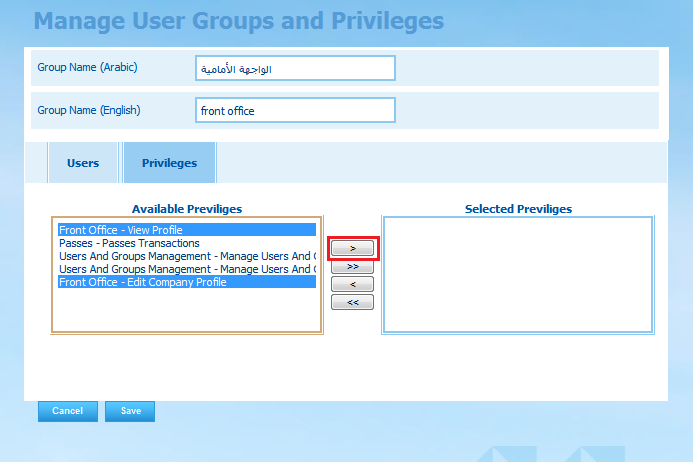
4. The selected privileges will be moved to the Selected Privileges list to indicate the group's current permissions.
5. Similarly, to remove any of the selected privileges, select the intended privilege from the Selected Privileges list and then click on (![]() ) button. To remove all privileges, click on (
) button. To remove all privileges, click on (![]() ) button.
) button.
Once the group's basic details are entered, users are selected, and privileges are assigned click on Save button.