The status of any user group along with the user's status determine the user's ability to access the system. If the user group status is inactive, then the user will not be able to access the system regardless of his/her status. On the other hand, if the user group status is active then the user will be able to access the system if his/her status is active.
The default status upon adding any user group is the active status, indicated by green circle (![]() ). On the other hand, you can deactivate any user group to prevent its users from accessing the system, once needed. Deactivation is indicated with the red circle (
). On the other hand, you can deactivate any user group to prevent its users from accessing the system, once needed. Deactivation is indicated with the red circle (![]() ).
).
The following points discuss the user group activation and deactivation steps:
1. Deactivate User Group:
Deactivating a user group is made possible through the following steps:
| 1. | Click on the status icon ( |
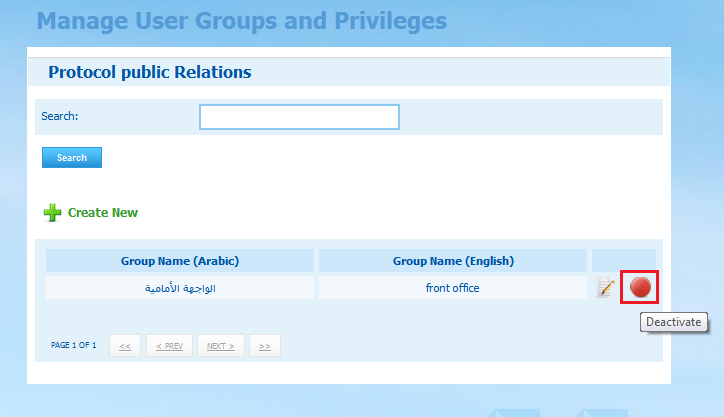
| 2. | Click on the status icon ( |
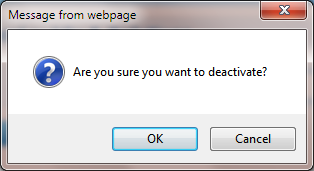
| 3. | To confirm the deactivation, click on OK button |
| 4. | Once the user group is deactivated, its status will change to inactive and its users will not be able to access the system unless the group is activated again. |
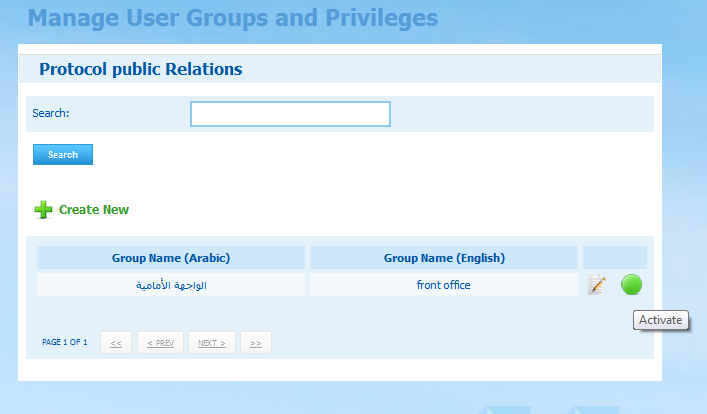
2. Activate User Group:
Activating a user group is made possible through the following steps:
1. Click on the status icon (![]() ) next to the intended user group. Note that when the cursor is placed over the active status icon, it will be changed to green, as shown below:
) next to the intended user group. Note that when the cursor is placed over the active status icon, it will be changed to green, as shown below:
2. Click on the status icon (![]() ) after changing to green. This will display the following alert from which you can either confirm the activation or cancel it:
) after changing to green. This will display the following alert from which you can either confirm the activation or cancel it:
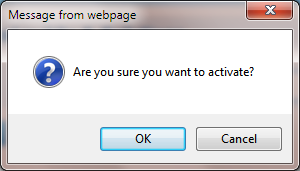
3. To confirm the activation, click on OK button
4. Once the user group is activated, its status will change to active and its users will be able to access the system, if the user status is active.